

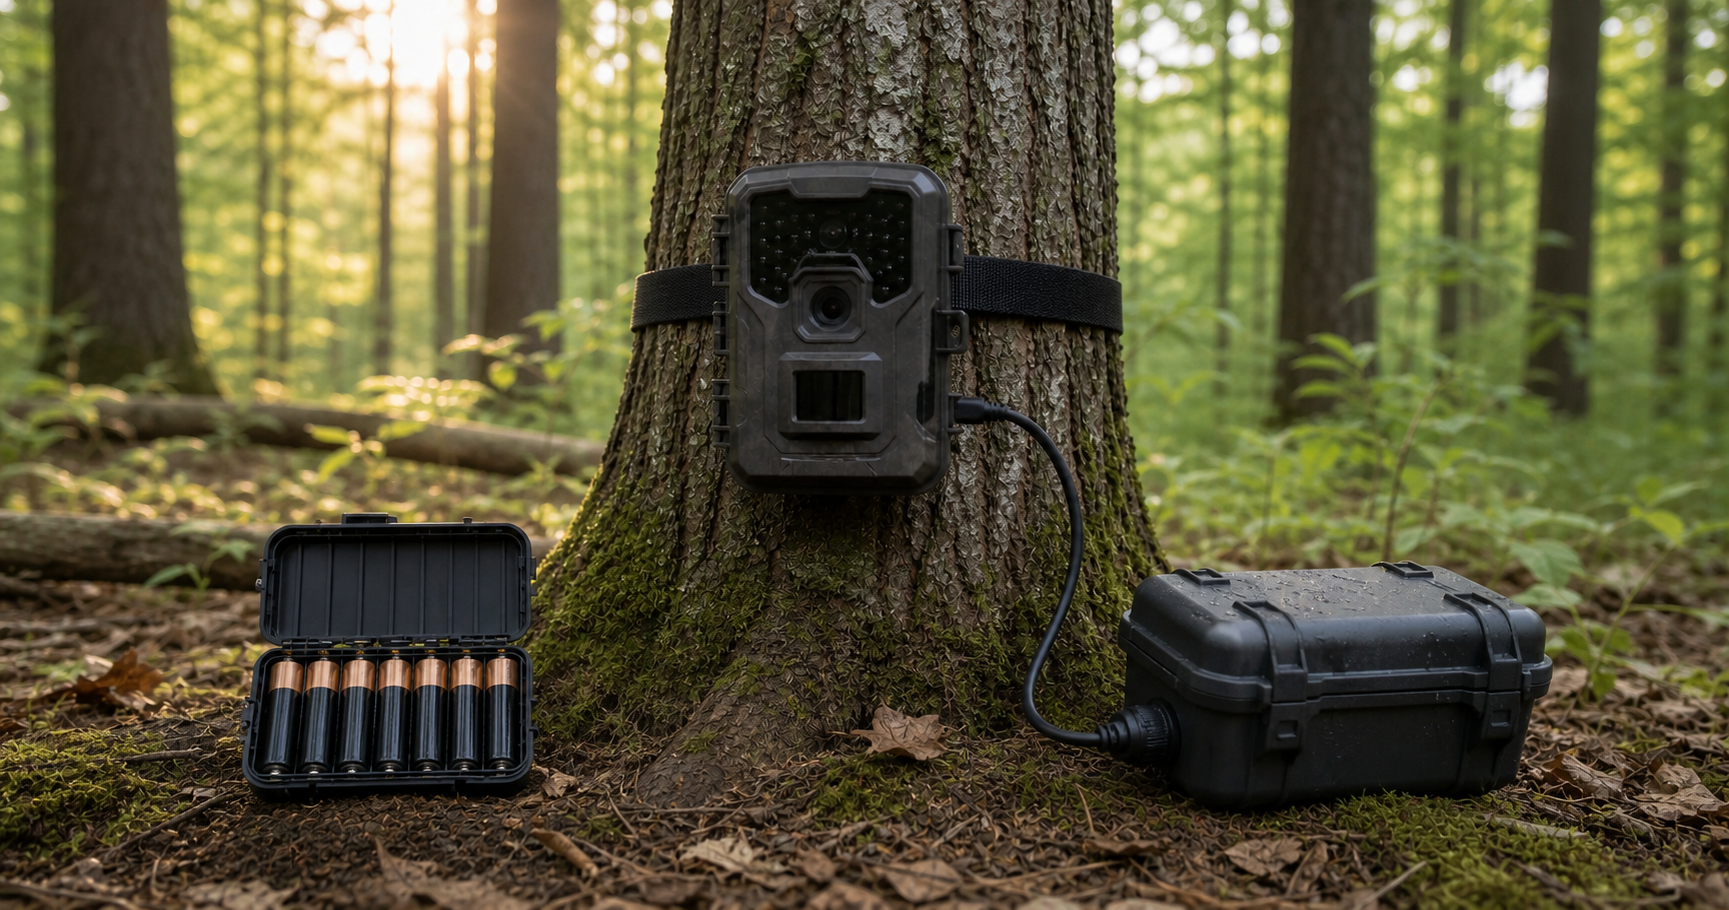
For most trail cameras, internal AA batteries are the simpler starting point. They sit inside the camera’s weather-resistant enclosure, require no external cable, and are easy to replace in the field. A manufacturer-approved trail camera battery pack can make more sense when the exact camera supports it, the site is difficult to visit, or cellular uploads and frequent triggers create a demanding workload.
The decision is not simply “more capacity is better.” An external setup adds another connector, cable, enclosure, mounting point, and maintenance routine. Start with your camera manual, then compare the complete system—not just the battery label.
Quick Decision: Battery Pack or AA Batteries?
| Choose internal AA batteries when… | Consider an approved battery pack when… |
|---|---|
| The camera has no documented external-power input | The exact model lists a compatible external or solar pack |
| You can visit the site on a normal schedule | The site is remote, costly, or disruptive to revisit |
| You value the fewest possible failure points | The camera has a heavy cellular, video, or trigger workload |
| The internal enclosure provides the cleanest weather protection | You can mount and protect the pack and cable correctly |
| Fast field replacement matters more than recharging | You have a reliable charging or solar-maintenance plan |
Neither option guarantees a fixed runtime. Camera model, image and video settings, trigger volume, cellular signal, temperature, battery age, and the power system’s own electronics all affect service life.
Compatibility Comes Before Capacity
The safest first question is not “How many amp-hours does the pack have?” It is “Does the camera maker approve this power source for my exact model?”
Trail-camera power arrangements vary. SPYPOINT’s current camera compatibility chart, for example, shows that AA, rechargeable packs, solar power, and 12V inputs are not supported uniformly across its models. Browning likewise tells users to use its approved external power sources with the 12V DC input on its cameras in its external-power guidance.
Before connecting any pack, confirm all of the following in current manufacturer documentation:
- Exact camera model and generation
- Required input voltage
- DC or other power type
- Connector dimensions and insertion depth
- Connector polarity
- Approved cable, battery pack, or solar accessory
- Whether internal batteries may remain installed
- Which source the camera uses first and whether automatic failover is supported
A plug that physically fits is not proof of electrical compatibility. The wrong voltage or polarity can damage equipment, while an almost-correct barrel connector can loosen or admit moisture.
What “Trail Camera Battery Pack” Can Mean
Search results use the phrase for several different products. Treat each as a separate power system.
A removable pack inside the camera
Some cameras use a model-specific rechargeable pack in the battery compartment instead of loose AA cells. This keeps the power source inside the camera enclosure, but the pack, charger, firmware behavior, and cold-weather limits remain model-specific.
An external 12V battery and cable
An external 12V setup usually places a larger battery in a separate protected enclosure and connects it to the camera’s external power jack. It may offer more stored energy than the internal tray, but “12V” alone is insufficient. Plug dimensions, polarity, regulation, and the manufacturer’s permitted accessory list still control compatibility.
A solar-assisted external pack
A compatible solar-assisted pack may replenish some consumed energy when enough light is available, but it does not create unlimited power. For site-specific guidance on sunlight, stored energy, placement, weather, and seasonal testing, use our trail camera solar panel reliability guide.
A third-party DIY system
Building a custom battery, regulator, connector, or enclosure introduces electrical and weatherproofing risks that a product label may not reveal. This guide does not recommend improvised wiring. Use camera-maker documentation and purpose-built, compatible equipment.
AA Batteries: The Simpler Baseline
Internal AAs have an important advantage: the camera was designed to hold them. When the manual permits the chosen chemistry, the cells stay behind the door seal with no cable passing through the setup.
Advantages of internal AAs
- Fewer exposed components and connections
- Quick replacement with a fresh matched set
- No separate charger, panel, or external enclosure
- Easier troubleshooting because the power path is short
- Lower setup complexity for frequently visited cameras
Limitations of internal AAs
- Capacity is limited by the camera’s cell count and allowed chemistry
- Replacing a full set can become costly across many cameras
- Opening the camera for service can disturb the site or introduce moisture if the seal is dirty or damaged
- Cellular transmission, long videos, frequent night activity, and poor signal can shorten the interval between visits
Use the number, size, voltage, and chemistry listed by the manufacturer. Install one fresh matched set; do not mix old and new cells, brands, chemistries, or substantially different charge levels. The BEVIGOR trail-camera battery checklist provides a broader pre-deployment routine for power, storage, trigger tests, and cellular delivery.
Battery Packs: More Runtime Potential, More System Parts
The strongest reason to add an external pack is operational: fewer visits to a compatible camera may be worth the added complexity. This is especially relevant when access requires a long drive, a hike, landowner coordination, or entry into a sensitive hunting area.
Advantages of a compatible battery pack
- Potentially more stored energy than the internal AA tray
- Rechargeable options may reduce repeated disposable-cell purchases
- Solar-assisted systems can replace some consumed energy when site conditions cooperate
- Some cameras can use internal batteries as a backup after external power is depleted
Power-source priority itself varies by model. One current SPYPOINT camera manual states that, when multiple sources are connected, its covered camera uses them in the order internal battery, 12V, and then AA. That model-specific sequence shows why owners should check the exact manual instead of assuming universal failover behavior.
Added failure points
- Cable damage from wildlife, vegetation, tools, or abrasion
- Loose or corroded connectors
- Water entry at the power jack or enclosure
- A pack that is discharged, poorly charged, or outside its temperature limits
- Solar placement that looked adequate in summer but becomes shaded later
- An external box or panel that shifts, becomes visible, or is easier to steal
An external pack can reduce battery changes yet increase inspection tasks. The right comparison is total field reliability, not capacity in isolation.
Weather Sealing and Mounting Matter
The camera door, external jack cover, cable routing, and pack enclosure form one weather-exposure system. Follow the accessory instructions exactly. Do not force a connector, pinch a cable in the camera door, drill the camera housing, or assume a household battery box is suitable outdoors.
At installation, check that:
- The camera’s gasket and mating surface are clean and undamaged
- The external plug is fully seated as documented
- The cable has strain relief and does not pull on the jack
- A drip loop or other routing specified by the maker prevents water from following the cable toward the connection
- The pack or panel is mounted securely without blocking the camera’s detection or image field
- The setup is above predictable standing water and away from equipment paths
- Cables are not stretched tightly across an animal trail
Recheck the installation after storms, temperature swings, or site work. A larger power reserve cannot compensate for a wet connector or damaged cable.
Compare Maintenance, Not Just Purchase Price
A useful cost comparison includes every planned visit and component:
- Internal AA cost: cells per change × expected changes across all cameras.
- Travel cost: mileage, time, access fees, and the value of avoiding unnecessary entry.
- Pack cost: battery, approved cable, enclosure, charger, mount, and any solar panel.
- Maintenance cost: charging, inspection, cleaning, seasonal repositioning, and eventual battery replacement.
- Failure cost: missed images or data when a cable, pack, connection, or internal set fails.
Do not calculate savings from a promised number of months unless that figure comes from your exact camera and conditions. A short bench test and a controlled field trial provide a better planning baseline than a generic runtime claim.
A Practical Deployment Test
Run the proposed power setup before trusting it at a remote site.
1. Confirm the documented configuration
Record the exact camera model, firmware version if relevant, approved power source, voltage, connector, polarity, and backup behavior. Keep the instructions with your equipment log.
2. Test the camera under a realistic load
Use the intended photo resolution, video length, trigger delay, night settings, and cellular upload schedule. Confirm that photos save correctly and cellular models complete uploads under a realistic signal condition.
3. Test source transitions if the manual supports backup power
Verify what the camera reports when external power is connected and what happens when that source is removed or depleted. Do not disconnect or short wiring to simulate failure; follow the maker’s normal procedure.
4. Inspect the full outdoor installation
Look at the door seal, jack, cable route, enclosure, mount, panel exposure, and theft visibility. Photograph the setup so changes are easy to notice later.
5. Begin with a conservative visit schedule
Check sooner than your eventual target interval. Review battery readings, image count, upload history, connection condition, and any signs of moisture or wildlife damage. Extend the interval only after the system proves stable at that site.
Which Setup Makes More Sense by Use Case?
Frequently visited non-cellular camera
Internal AAs are usually the cleaner choice. You can swap a matched set during normal card checks, and there are fewer exposed components to inspect.
Remote cellular camera with heavy activity
A manufacturer-approved external or solar pack may reduce visits if the camera supports it and the installation can be secured. Poor cellular signal can still increase power demand, so fix placement or connectivity problems rather than expecting a larger battery alone to solve them.
Cold-weather deployment
Follow the temperature limits for the camera and every power component. A compatible primary lithium AA option can be practical for cameras that explicitly permit 1.5V non-rechargeable lithium AA cells. Rechargeable packs have their own charging and operating limits; verify both rather than generalizing from the word “lithium.”
Shaded woods
Do not assume a solar panel will maintain charge beneath a dense canopy. If the maker permits it, internal AAs or a charged external pack may be more predictable than an undersupplied solar system. If using solar, evaluate the actual panel location across the season.
Public or high-traffic land
The lower-profile internal AA setup may reduce visible accessories and cables. Follow all land rules and permissions, and never compromise safe mounting to conceal a pack.
Choosing AA Batteries for a Compatible Camera
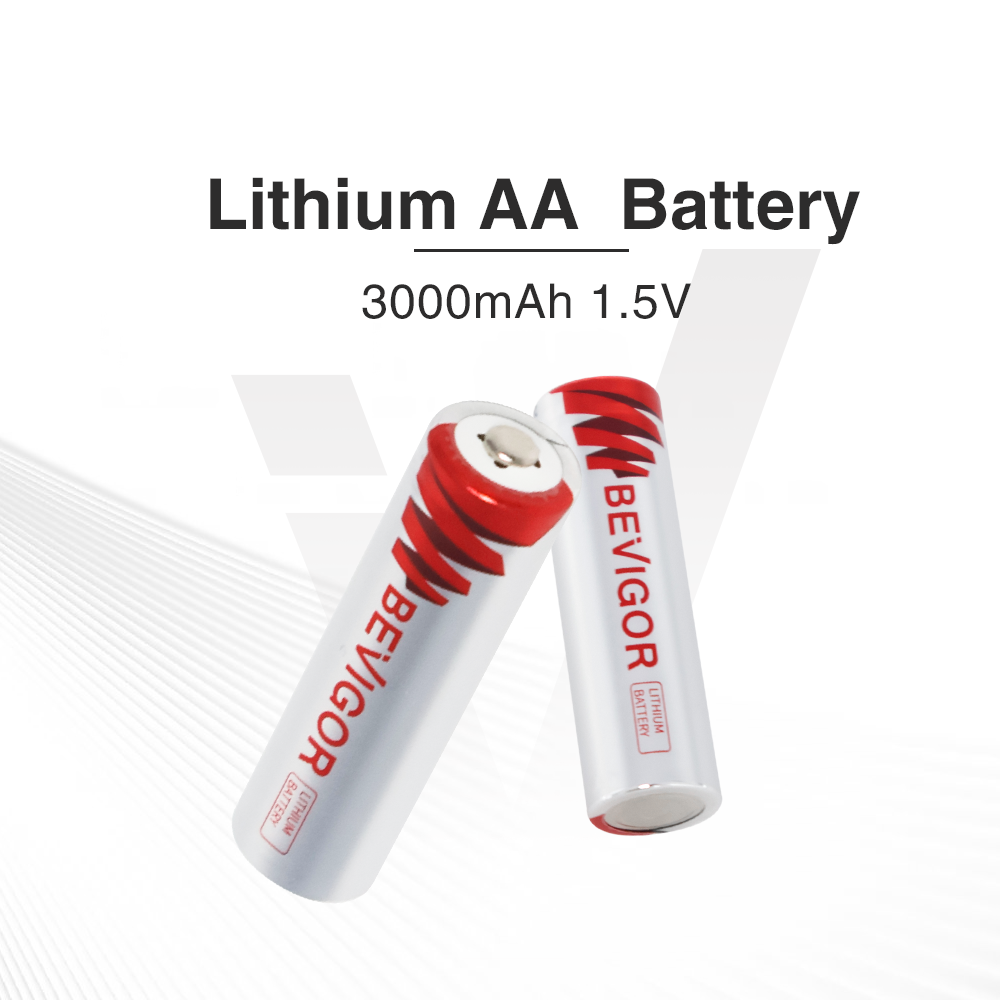
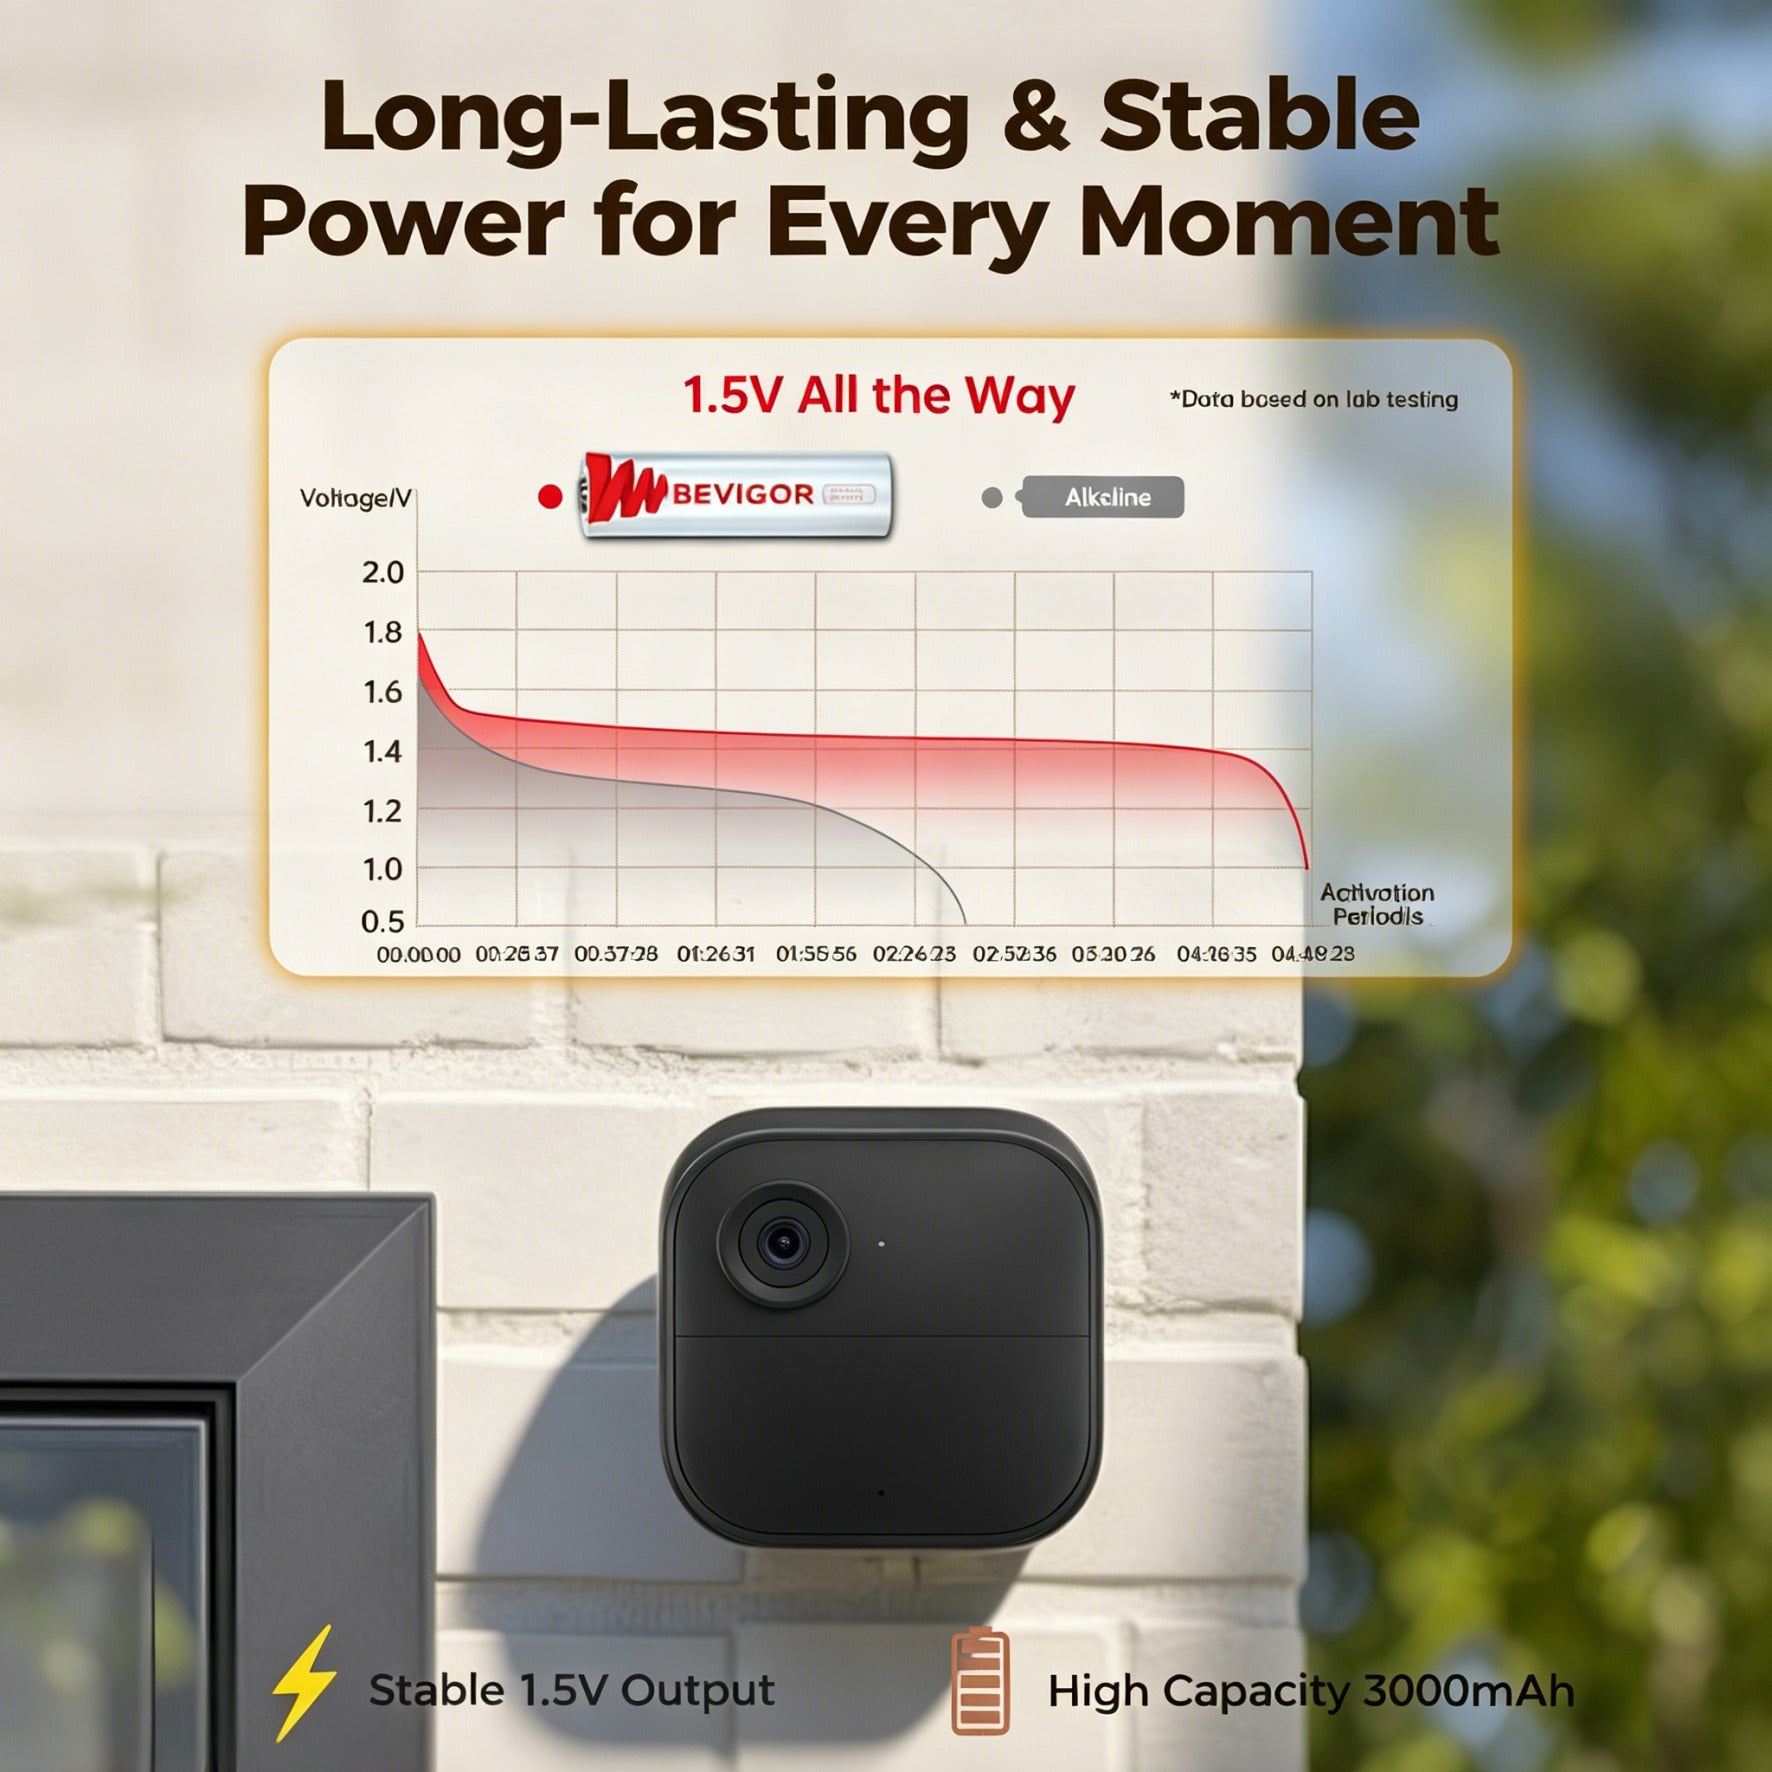
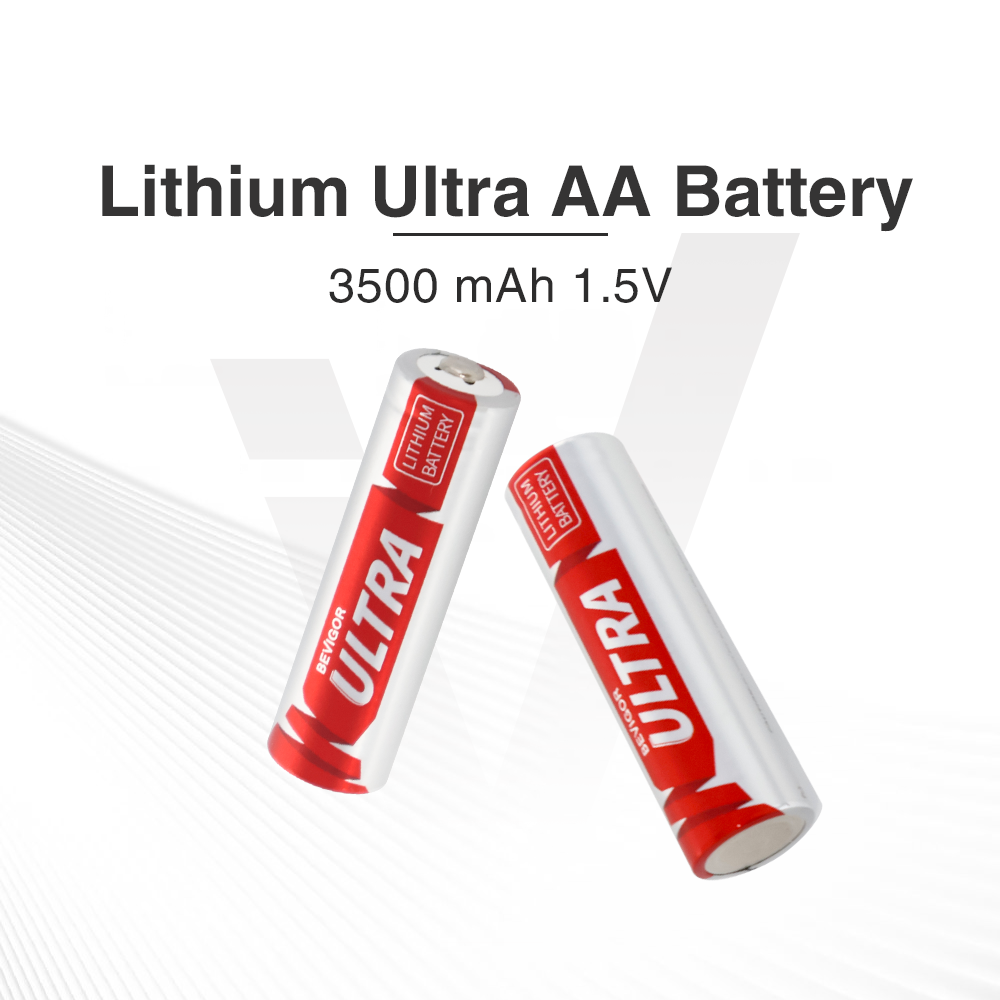
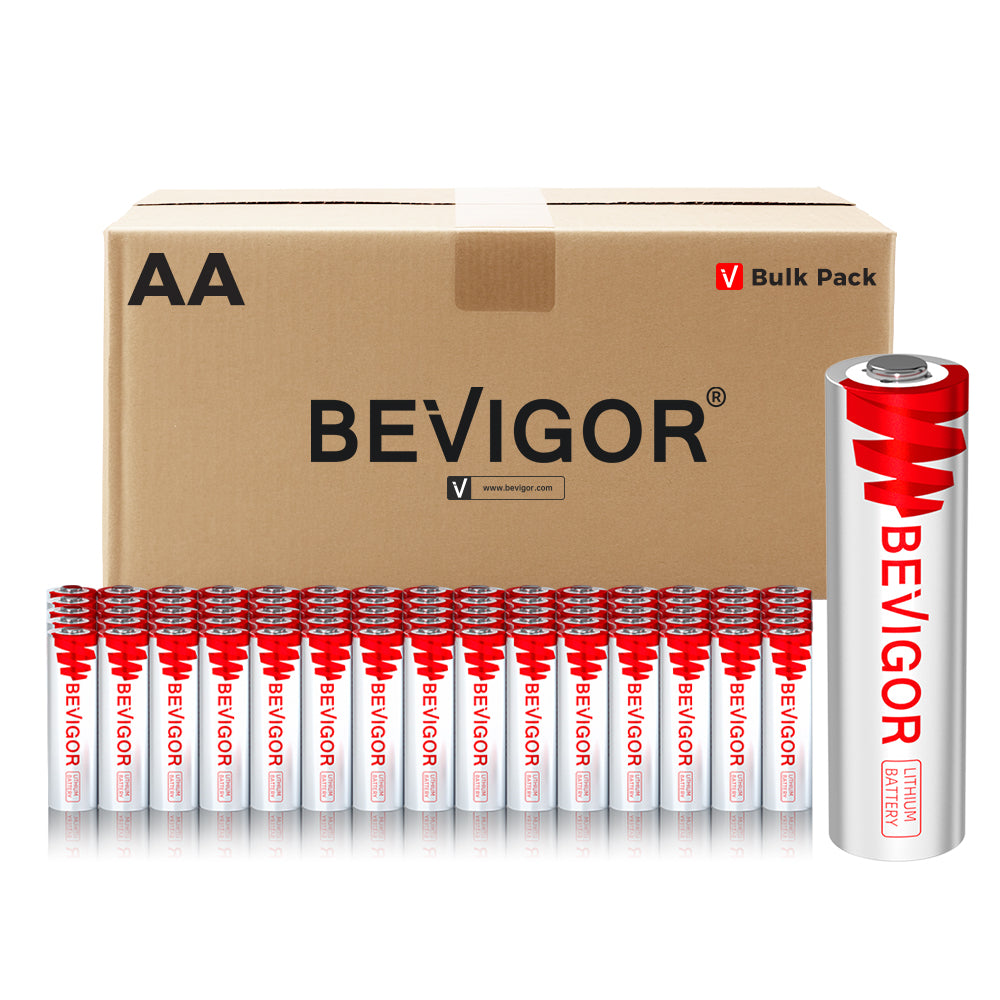
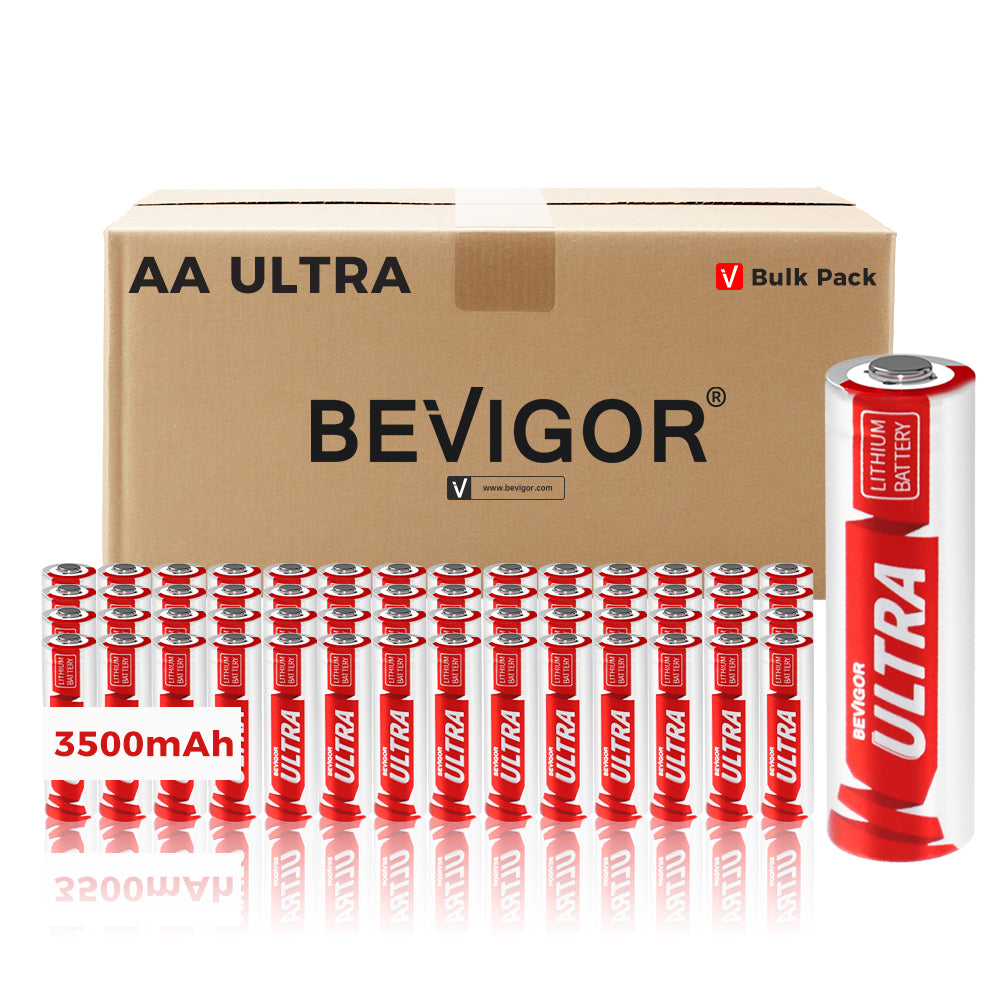
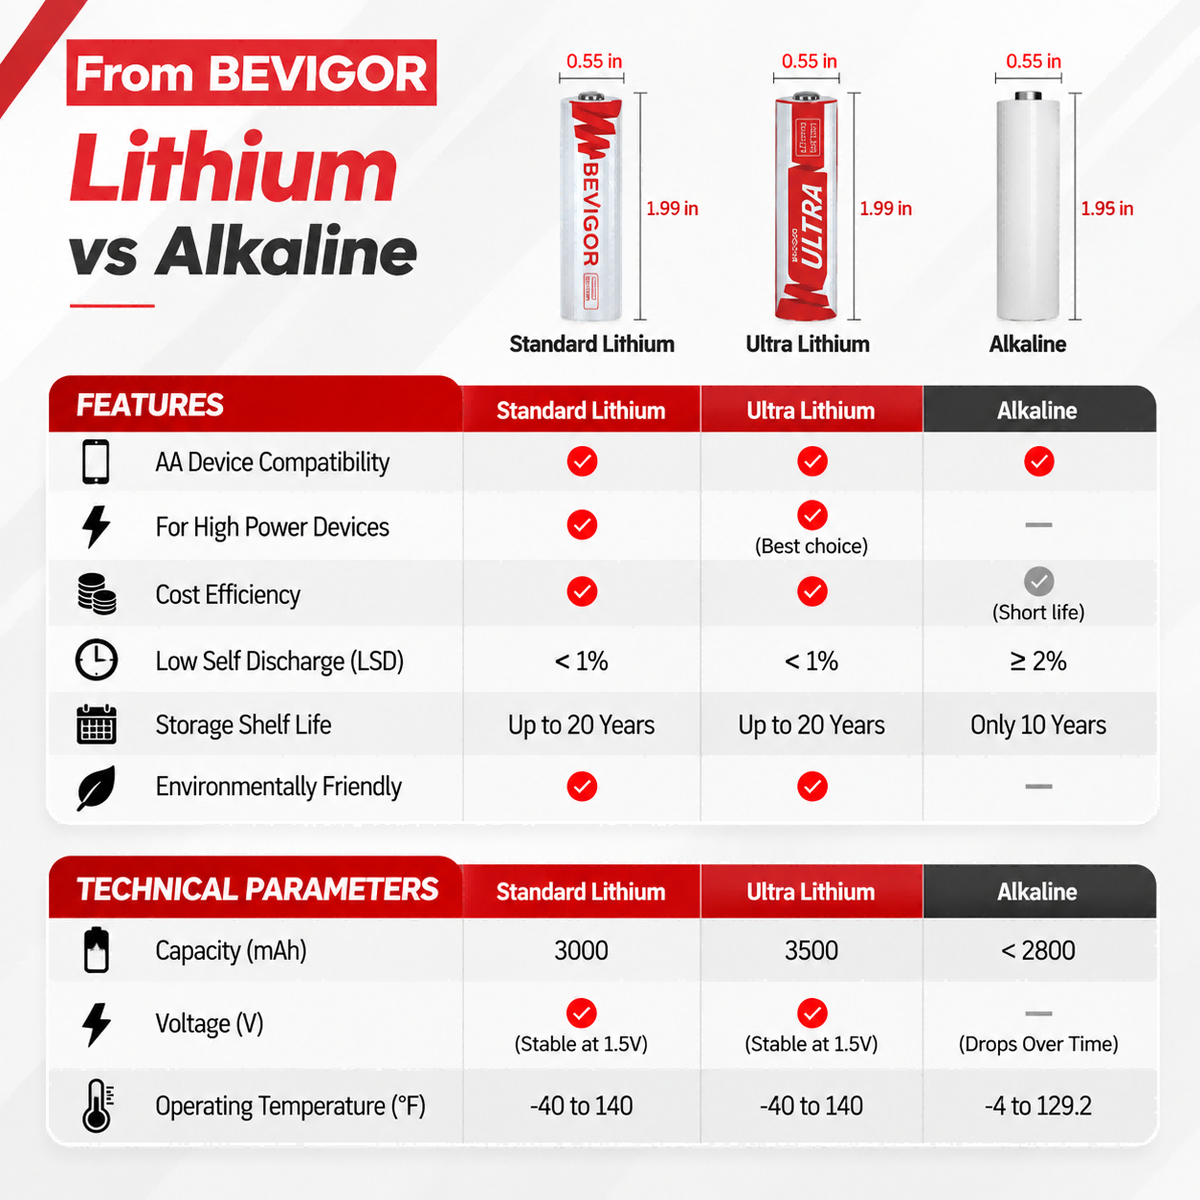
If your trail-camera manual permits AA 1.5V non-rechargeable lithium batteries, compare the label against the required size, voltage, chemistry, and cell count. BEVIGOR’s trail-camera battery page explains the current AA options, and the 3000mAh lithium AA product page lists a 1.5V non-rechargeable option.
These specifications do not establish compatibility with every camera or guarantee a service interval. Confirm the manual first and evaluate performance under your own settings and field conditions.
Final Recommendation
Choose internal AAs when you want the simplest, most self-contained system and can service the camera on a reasonable schedule. Consider a manufacturer-approved trail camera battery pack when the exact model supports it, site visits are difficult, and you can manage the extra cable, enclosure, charging, and inspection work.
For either setup, the most dependable plan is the same: verify compatibility, install the complete system correctly, test it under realistic load, and set the next visit from observed performance rather than a universal runtime promise.
Frequently Asked Questions
Can I connect any 12 volt battery to a trail camera with a 12V jack?
No. Match the exact camera model’s documented voltage, power type, connector dimensions, polarity, and approved accessories. A matching voltage label or a plug that fits does not establish compatibility.
Should I leave AA batteries inside when using an external battery pack?
Only if the camera manufacturer’s instructions allow it. Some models use internal batteries as backup after external power is depleted; other designs may behave differently.
Is a solar battery pack better than AA batteries?
It can reduce service visits at a compatible site with adequate light, but it adds a panel, rechargeable battery, cable, and mounting requirements. Internal AAs are simpler and may be more predictable in deep shade or at frequently visited locations.
Will an external battery pack make my trail camera last all season?
Not necessarily. Runtime varies with camera design, capacity, battery condition, temperature, trigger volume, video and night settings, cellular signal, upload frequency, and solar input where applicable.
Can I use BEVIGOR lithium AA batteries in my trail camera?
Use them only if the current manual for your exact camera specifies AA 1.5V non-rechargeable lithium batteries. Confirm the required cell count and install a fresh matched set without mixing types or ages.






Aktie:
Can You Use Rechargeable Batteries in Blink Cameras?
How to Buy AA Batteries in Bulk Without Overbuying