

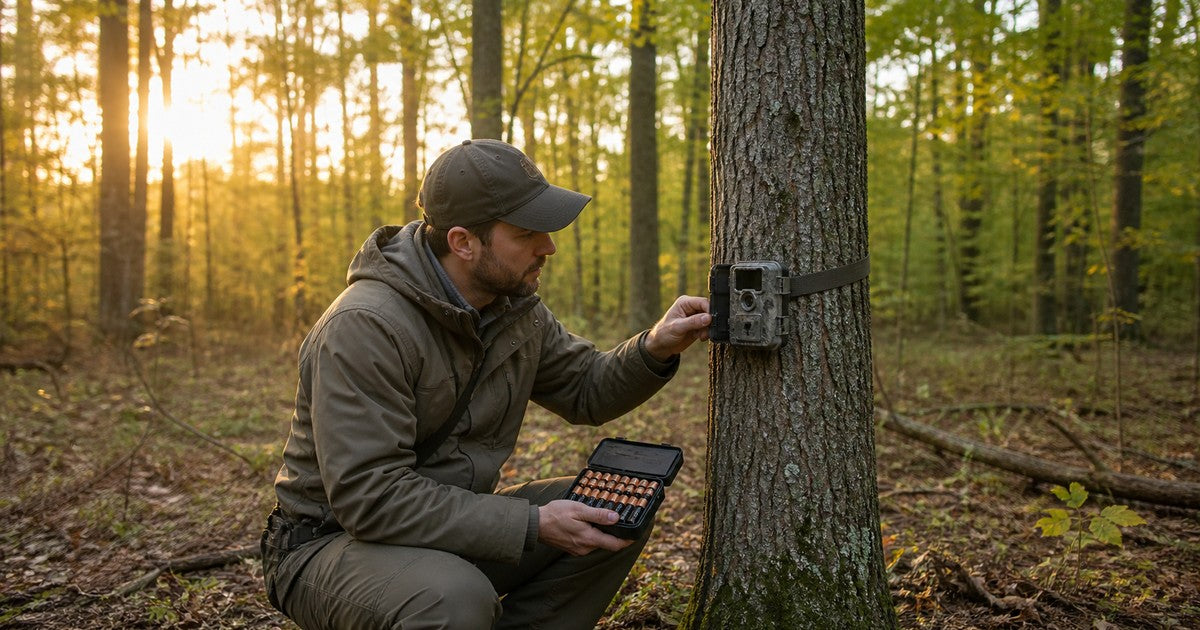
The simplest way to prepare AA batteries for a trail camera is to check the manual for every camera, install one complete set of fresh, matching batteries in each unit, and carry at least one correctly sized replacement set for every camera you cannot afford to leave offline. Then test the SD card, trigger, night flash, date and time, and—if applicable—the cellular connection before you walk away.
In a multi-camera setup, small mistakes become expensive. One camera may use 6 AAs while another takes 8 or 12. A unit that powers on at home can still fail because of a full SD card, incorrect polarity, poor signal, or an untested trigger zone.
Use this checklist to calculate your battery supply and verify the entire system before scouting activity picks up.
Quick Pre-Season Trail Camera Checklist
- Read the exact camera manual and confirm the required battery size, quantity, chemistry, and voltage.
- Count the cells needed for one complete set in every camera.
- Install fresh batteries of the same brand, chemistry, model, and age as a complete set.
- Do not combine new and partly used cells in one camera.
- Pack at least one complete spare set for each critical or difficult-to-reach camera.
- Inspect the battery compartment, door seal, latch, and mounting strap.
- Prepare the SD card as the manufacturer directs.
- Confirm the date, time, photo or video mode, trigger delay, burst count, and sensitivity.
- Run a walk test and review both daytime and nighttime sample files.
- For cellular cameras, confirm signal, data plan, app delivery, and remote battery reporting.
- Label spare sets, keep them dry, and record what you install.
How Many AA Batteries Do Your Trail Cameras Need?
Do not estimate from the number of cameras alone. Record how many cells each model requires. Quantities and supported chemistries vary, so the exact camera manual—not a general online list—is the deciding source.
Use this formula:
Total AA cells = sum of the cells required by all cameras × planned complete sets
For a uniform camera fleet:
Number of cameras × cells per camera × (1 installed set + number of spare sets)
Example battery calculation
Suppose you run six cameras that each require eight AAs:
| Supply | Calculation | AA cells |
|---|---|---|
| Initial installation | 6 cameras × 8 | 48 |
| One spare set per camera | 6 cameras × 8 | 48 |
| Total starting supply | 48 + 48 | 96 |

In this example, a 96-pack covers one complete installation and one complete replacement for each camera. It does not guarantee that the supply will last all season. Runtime depends on the camera, settings, temperature, trigger activity, nighttime illumination, cellular transmission frequency, battery condition, and timing of field checks.
If your cameras use different quantities, calculate each group separately. Four 8-cell cameras plus two 12-cell cameras require 56 cells per fleet-wide change. Round your battery count up to the next complete set so a partial refill does not encourage mixing.
How Many Spare Sets Should You Carry?
One complete spare set per camera is a practical starting point for a pre-season deployment. Adjust that number based on the consequences of failure rather than an assumed number of months.
Pack additional spare sets when:
- the camera is on a high-traffic trail and triggers frequently;
- video, burst mode, nighttime IR, or cellular uploads are used heavily;
- the site will become difficult to access later in the season;
- cold conditions are expected;
- you check the property infrequently; or
- losing data from that location would disrupt a hunting decision.
For cameras near home or checked often, pooled spares may be sufficient. At remote sites, store spares securely and keep them dry. Never let loose cells contact keys, ammunition, tools, or other metal objects.
Choose Batteries by the Camera Manual and Field Conditions
The right AA batteries are the ones that meet the exact requirements of the camera and suit the deployment. An AA label describes physical size; it does not make every AA chemistry electrically interchangeable.
Primary lithium AA
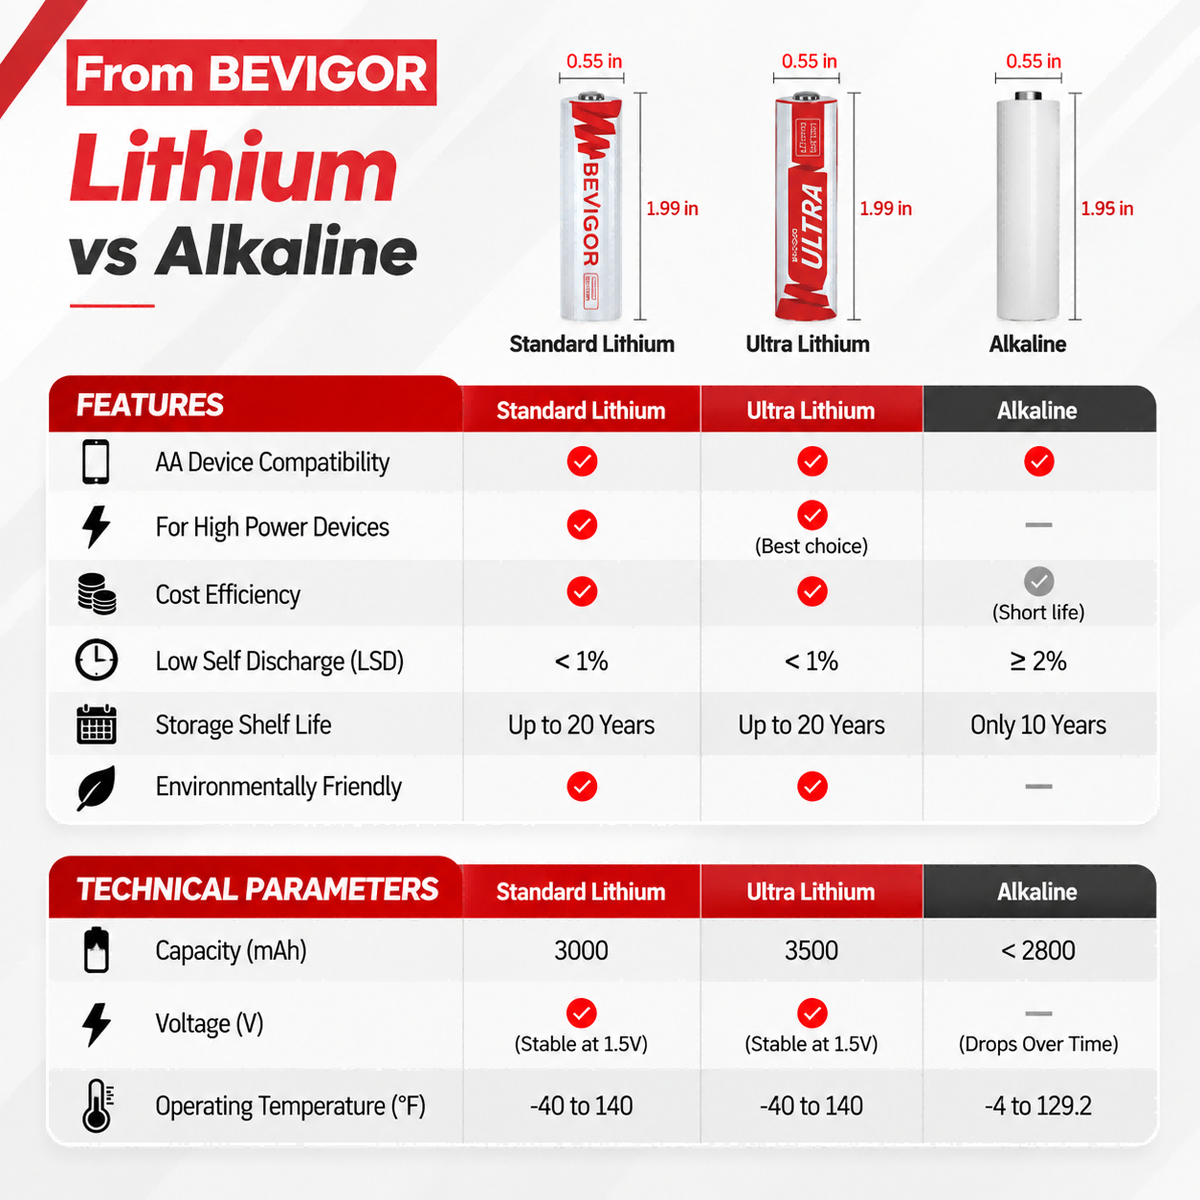
Single-use 1.5V lithium AA batteries can be useful for compatible cameras used in cold weather, at remote sites, or under demanding trigger patterns. They are not rechargeable. Confirm that the camera maker allows lithium AA cells before installation.
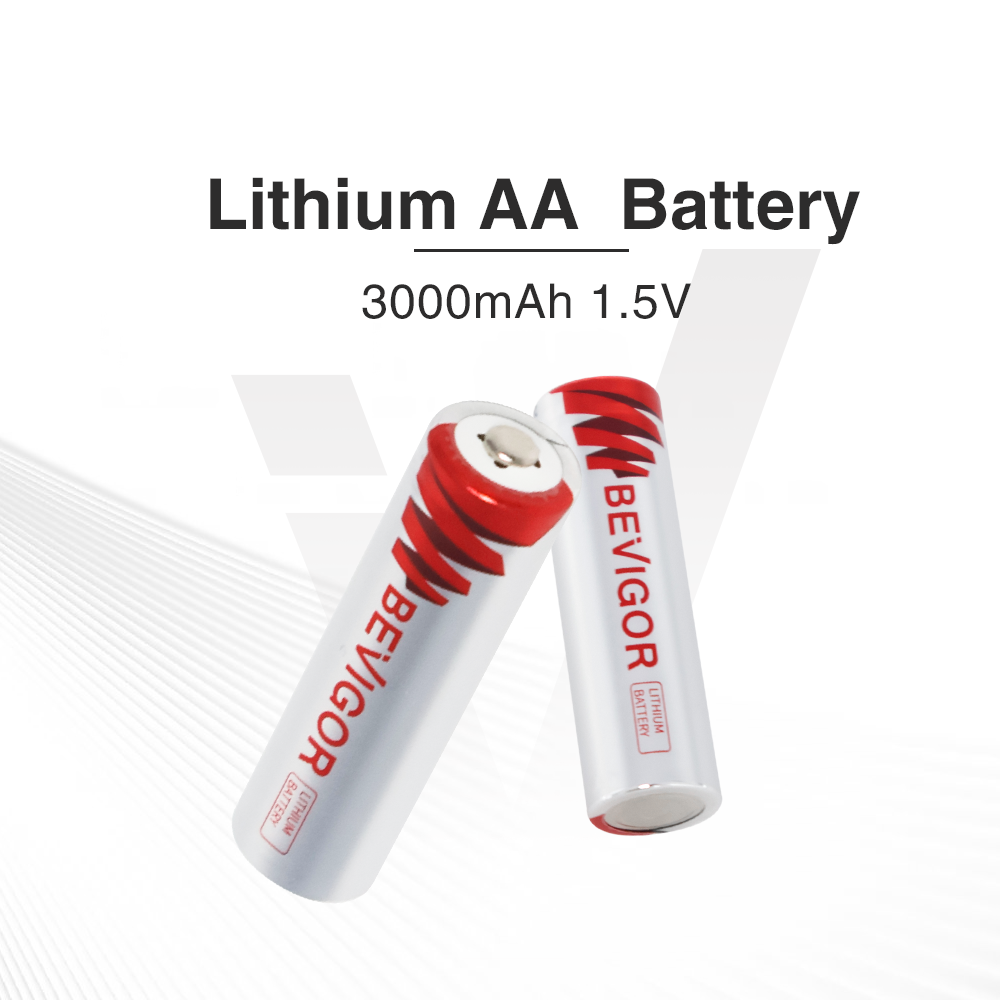
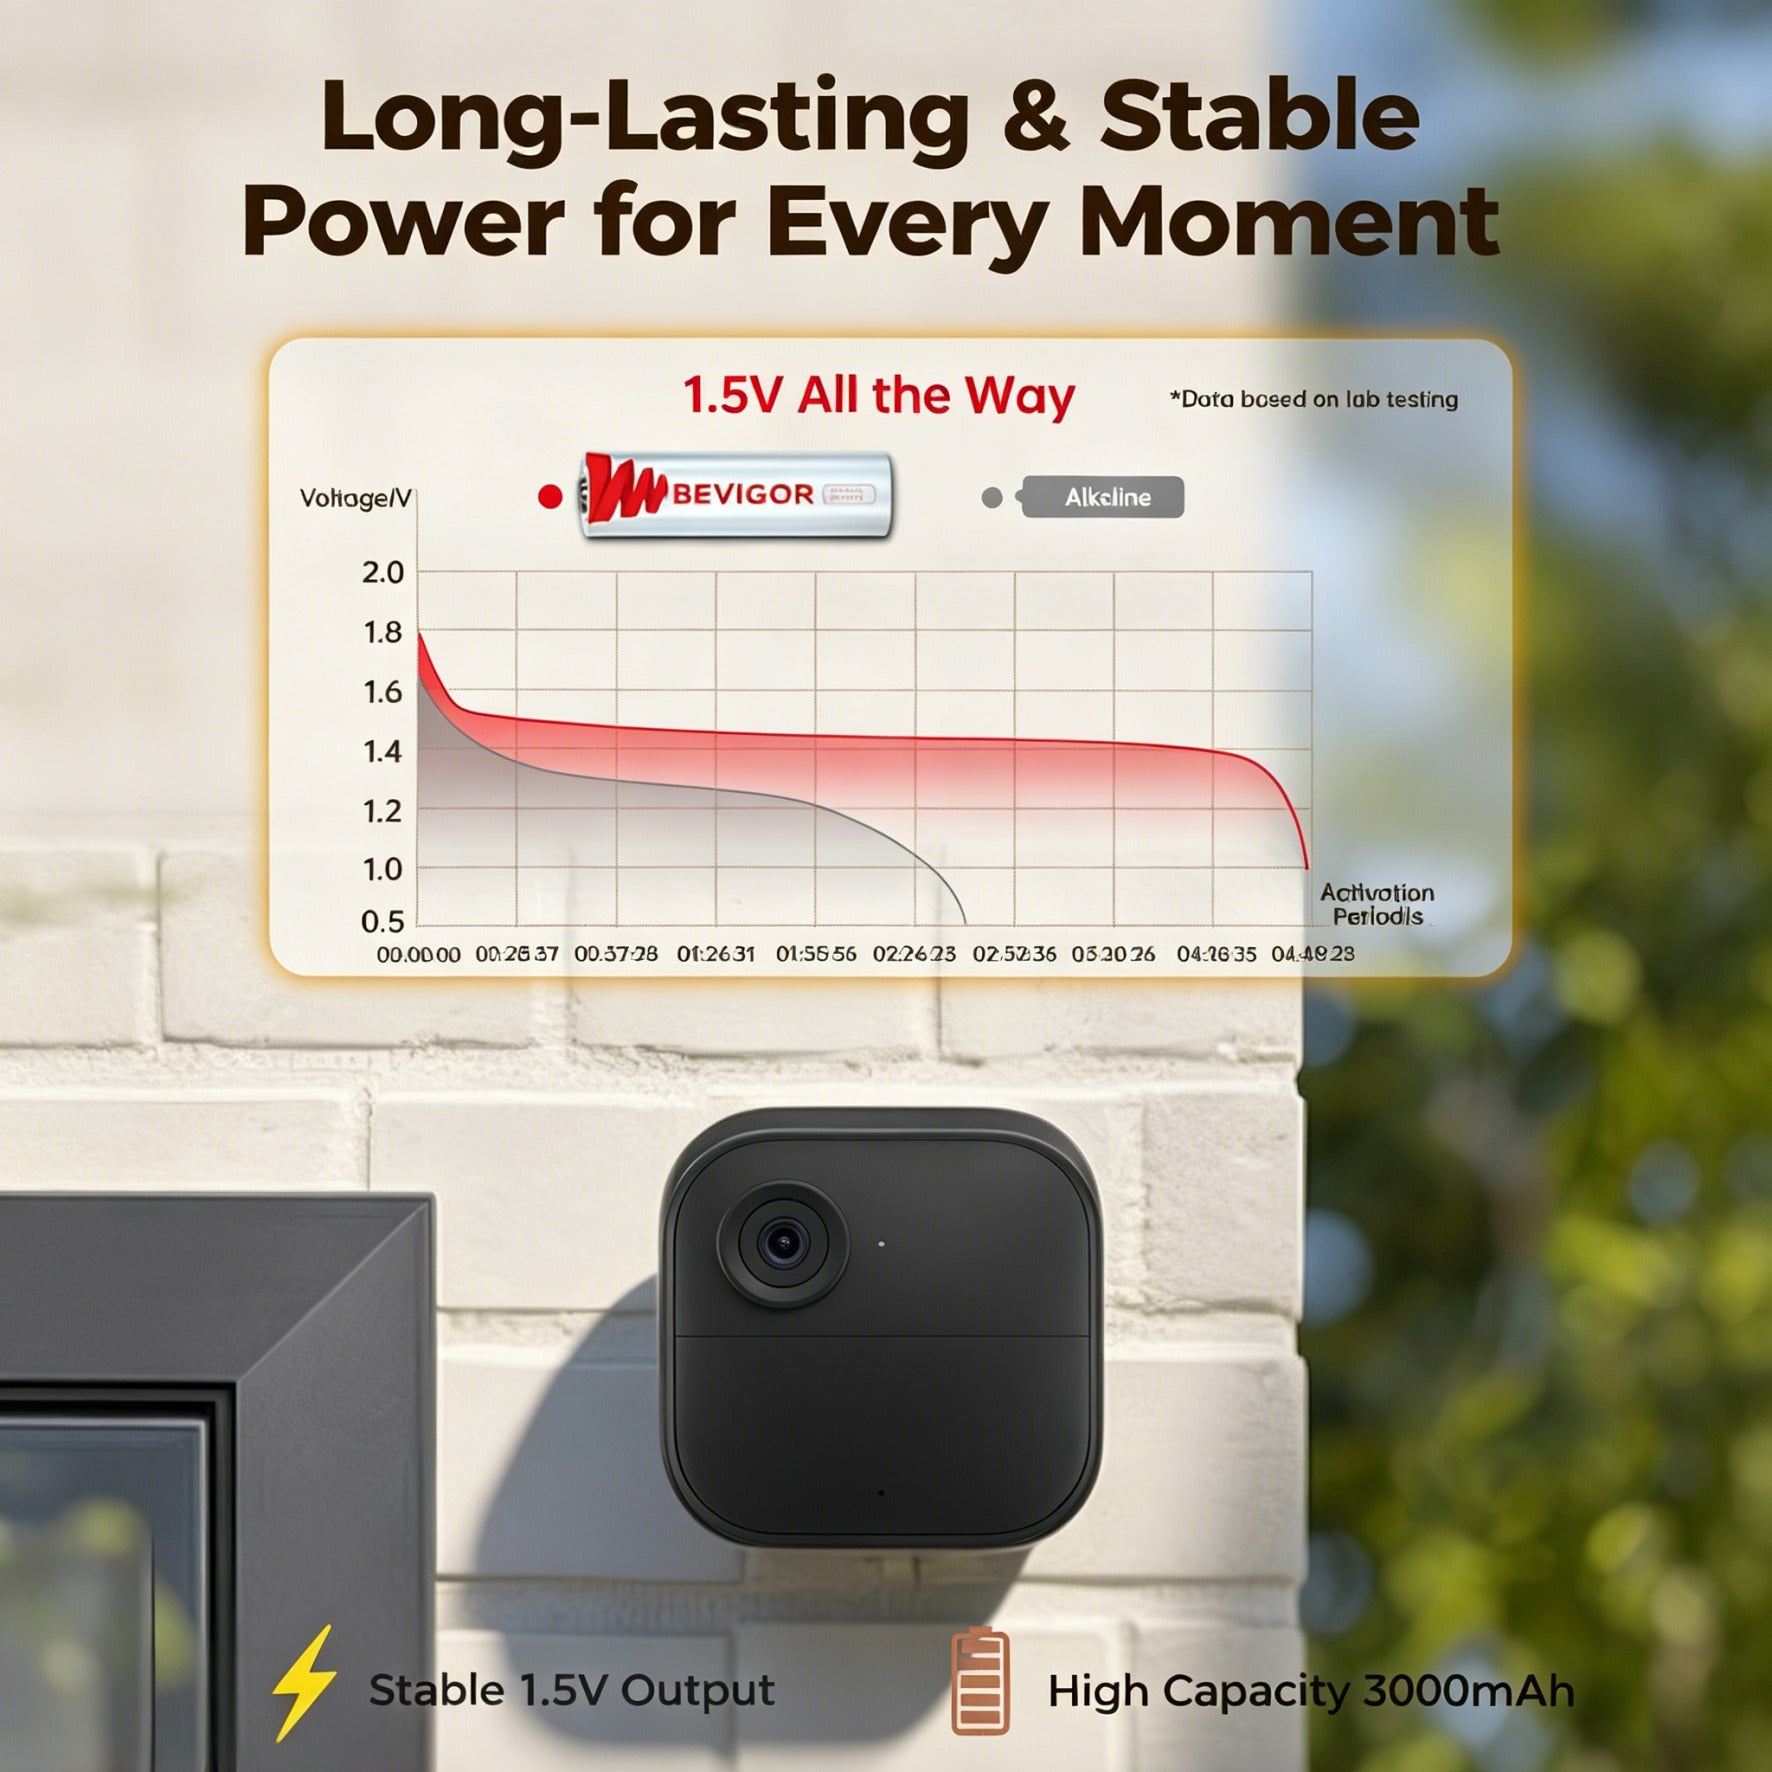
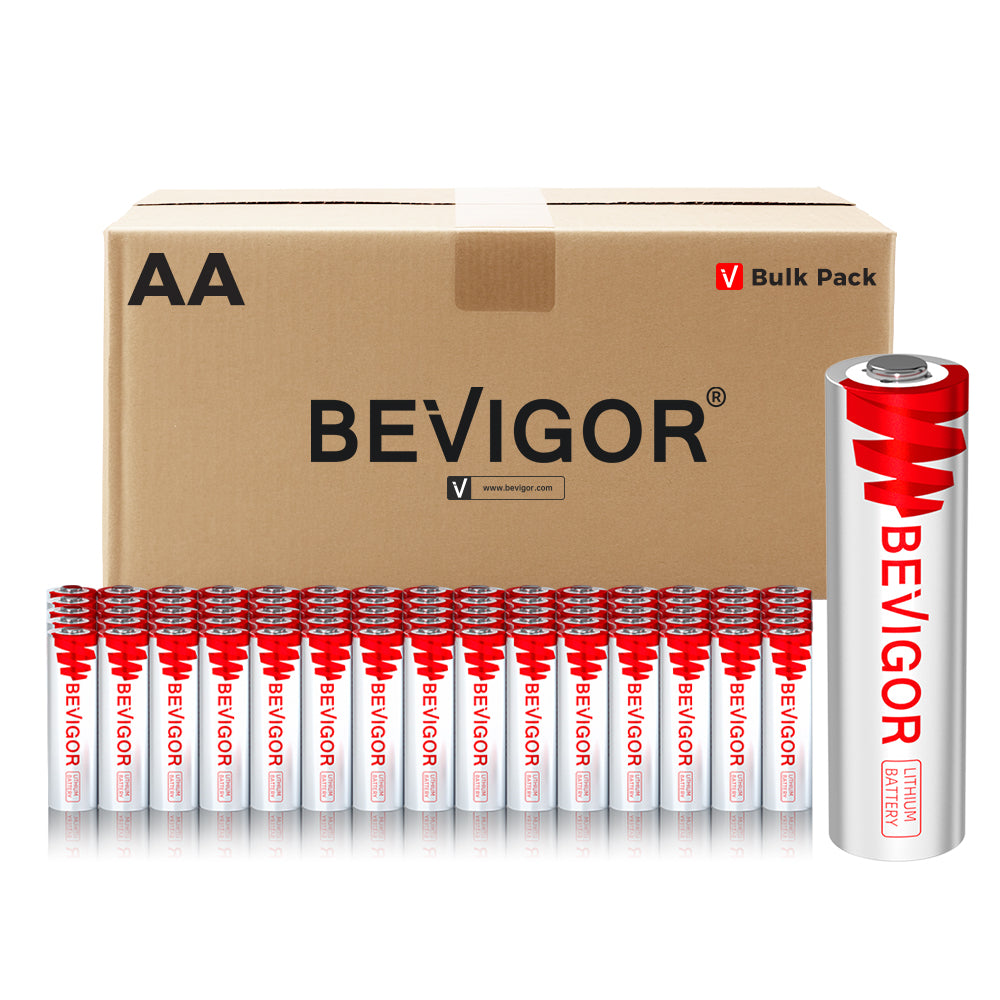
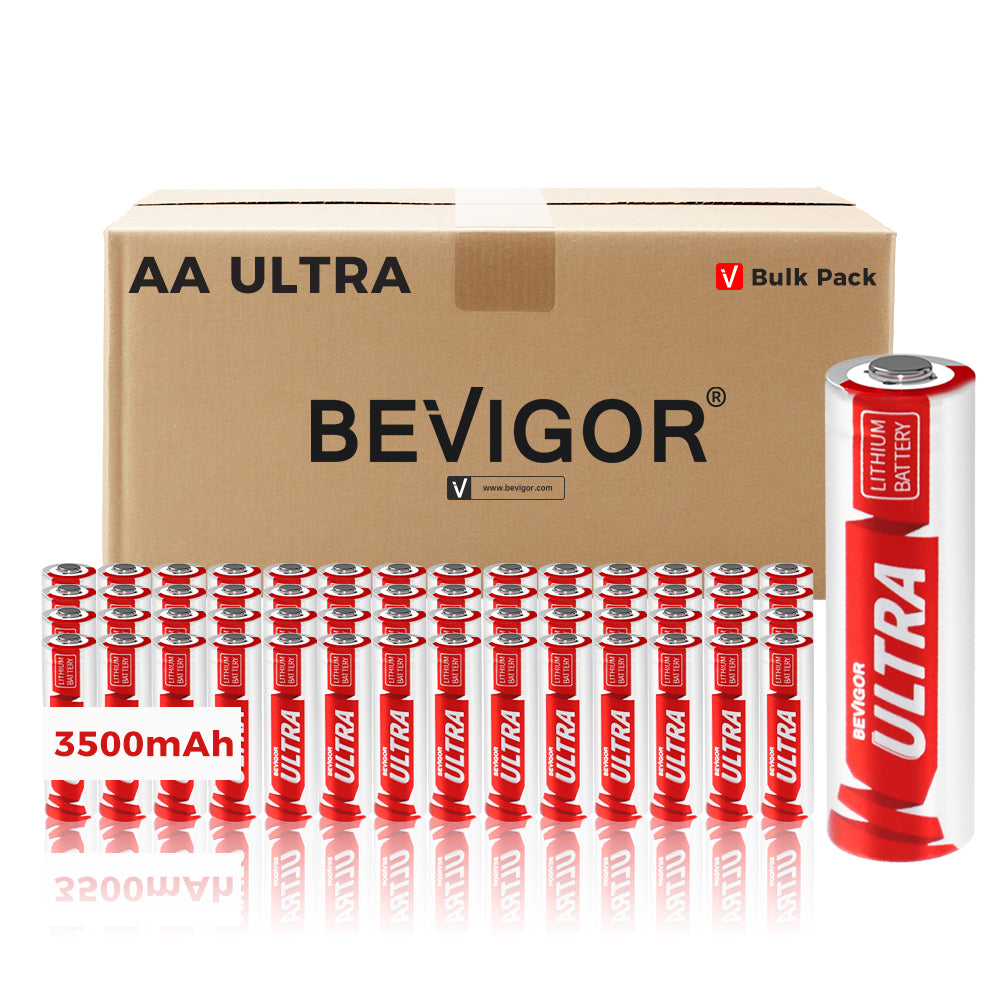
BEVIGOR lists its AA Lithium Batteries 3000mAh Bulk Pack as 1.5V primary lithium AA cells in pack sizes beginning at 96. The current product page also lists a 3000mAh nominal capacity and an operating range of -40°F to 140°F. These are product specifications, not a promise of camera runtime; real service life varies with the camera and field conditions. A BEVIGOR battery data sheet index also identifies the standard lithium AA model as 3000mAh.
Alkaline AA
Alkaline batteries may be allowed by many trail camera models and can make sense for mild conditions, frequent checks, or lower-cost short deployments. Their usable runtime still depends on the camera's cutoff voltage and workload. Follow the manual rather than assuming a result from chemistry alone.
Rechargeable AA
Do not assume rechargeable NiMH or lithium-ion AA cells are acceptable because they fit the compartment. Rechargeable types can have different nominal voltages and discharge behavior, and some trail camera makers do not recommend them. Use them only when the exact camera manual explicitly permits that chemistry and voltage.
Install Every Battery as a Matched Set
Replace the entire set at the same time. A trail camera uses multiple cells together, so one weaker or partly depleted cell can limit the set's performance.
Before installation:
- Turn the camera off and work in a dry area.
- Remove every old battery; do not leave a few “good-looking” cells behind.
- Check the compartment for dirt, moisture, corrosion, swelling, or damaged contacts.
- Verify the polarity marking for every slot.
- Install cells of the same brand, chemistry, model, and age.
- Close and latch the battery door fully without pinching the seal.
- Power on the camera and record the starting battery indication.
Do not mix lithium and alkaline batteries, old and new cells, or batteries from unrelated partial sets. Do not recharge any battery marked single-use or non-rechargeable.
Test More Than the Power Switch
A successful startup only proves that the camera can turn on. Complete these checks before mounting it for the season.

1. Verify the SD card
Confirm that the card type and capacity are supported. Format it in the camera if the manufacturer instructs you to do so. Take sample files and review them on another device; a card can appear installed yet fail to save usable images.
2. Set the clock and capture mode
Correct the date and time, then review photo or video mode, resolution, burst count, clip length, trigger delay, and sensitivity. These settings affect both the usefulness of the data and power consumption. Avoid copying settings between different camera models without checking what each control does.
3. Run a trigger-zone walk test
Mount the camera at the intended height and angle, clear moving vegetation from the detection zone, and walk through the area at several distances. Confirm that the subject enters the frame where expected. Grass and branches moving in sun or wind can create unnecessary triggers and battery drain.
4. Review day and night samples
Check focus, framing, exposure, and IR illumination. If possible, return after dark for a night test. Frequent nighttime captures generally draw more power because the camera must run its infrared illumination.
5. Test cellular delivery
For a cellular camera, verify activation, signal, app pairing, and successful image delivery from the exact location. Transmission frequency and weak signal can affect energy use.
Pack and Log Complete Battery Sets
Keep each replacement set together in original packaging or a labeled case. Carry the camera manual or an offline copy, compatible SD cards, labels, and separate containers for fresh and used cells. Keep batteries dry and follow their storage directions.
For each camera, log the ID, model, location, cells per set, chemistry, installation date, settings, starting battery indication, and next visit. At later checks, note the remaining indication, file count, false triggers, and connection problems. Your own seasonal records are more useful than a generic runtime estimate when planning future replacements.
Handle Used Batteries Correctly
Separate used cells from fresh inventory as soon as they leave the camera. Protect them from damage and accidental terminal contact.
The U.S. Environmental Protection Agency's household battery guidance says chemistry determines the correct end-of-life option. It recommends keeping lithium single-use batteries out of household trash and municipal recycling bins and using an appropriate battery recycler or household hazardous-waste option. Check local requirements.
Final 10-Minute Check Before You Leave the Site
- Battery compartment is clean, dry, and latched.
- A complete matched set is installed with correct polarity.
- SD card is recognized and has adequate space.
- Date, time, mode, delay, burst, and sensitivity are correct.
- Camera is firmly mounted and aimed at the intended travel zone.
- Moving grass and branches are cleared from the detection area.
- Daytime test image is readable and correctly framed.
- Night test is complete or scheduled before final deployment.
- Cellular image delivery works from the installed location, if applicable.
- Camera ID, battery type, install date, and next check are logged.
The core rule is simple: calculate batteries in complete sets, match them to the exact camera requirements, and test the whole capture workflow—not just the power switch. Once you know the specifications and field conditions, you can compare the available BEVIGOR 1.5V lithium AA bulk-pack options for a multi-camera deployment.
Frequently Asked Questions
How many AA batteries does a trail camera use?
It depends on the exact model. Some cameras use six AAs, while others may use eight, 12, or another configuration. Check the manual and calculate from the required number of cells, not from a general rule.
Should I replace all trail camera batteries at once?
Yes. Replace the full set with batteries of the same brand, chemistry, model, and age. Mixing old and new cells or different chemistries can make the set only as reliable as its weakest cell.
How many spare batteries should I bring for deer season?
At least one complete replacement set per critical camera is a practical starting point. Carry more coverage for remote, cold, high-trigger, video-heavy, or cellular deployments. This is planning guidance, not a runtime guarantee.
Can I use rechargeable AA batteries in my trail camera?
Only if the exact camera manual permits the rechargeable chemistry and voltage. Physical fit alone does not establish compatibility.







Share:
Standardized Battery Dimensions: Why Some AA Batteries Don't Fit
Blink Camera Battery Replacement: The Correct Battery Type and Step-by-Step Guide