
If you or someone you love wears hearing aids, batteries can feel like the least glamorous part of the whole experience-and the part that causes the most day-to-day stress.
Kevin, our battery copywriter and a caregiver to a hearing-aid user at home, shares his awkward moments:
- The hearing aid is "on," but there's no sound.
- The battery you just changed yesterday is already dead.
- You ordered batteries online, and they arrived… but they don't fit.
- You're helping a parent change a battery, and it feels impossibly small.
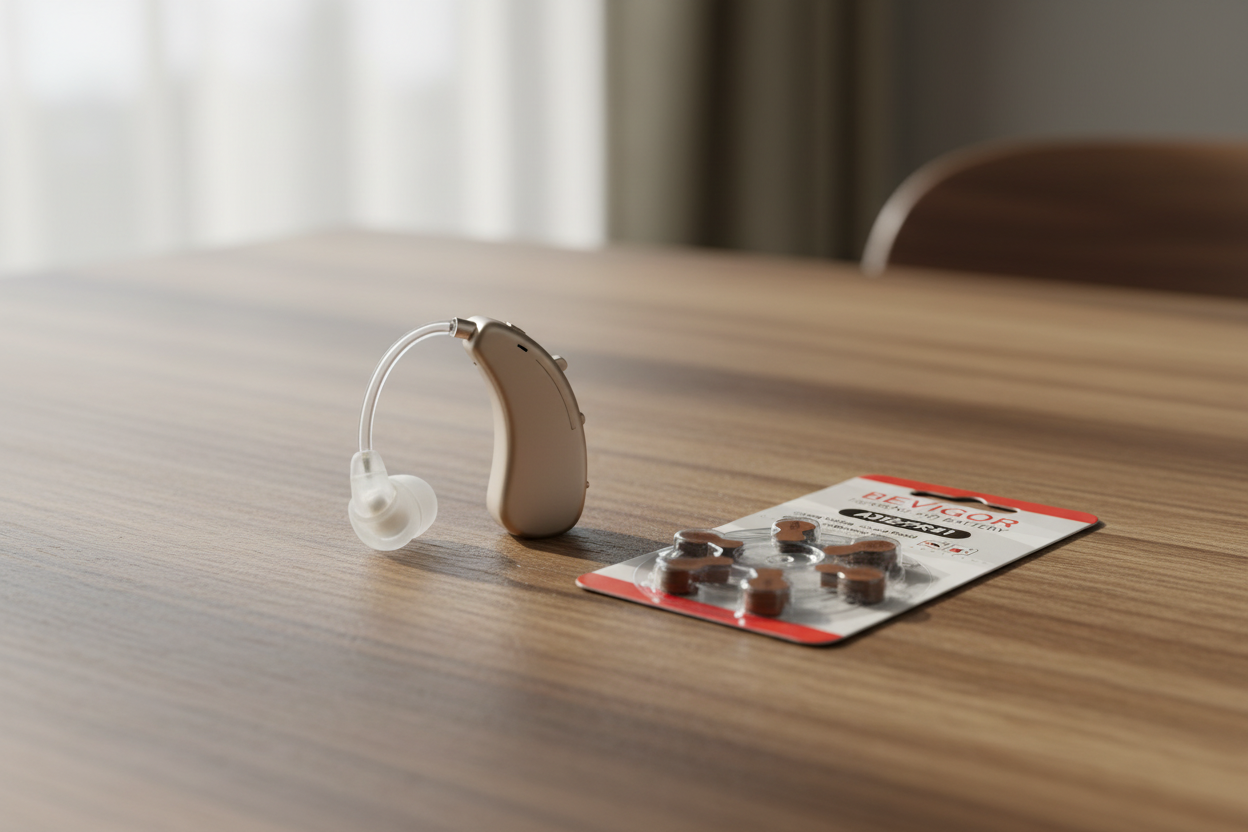
This guide is here to take the mystery out of hearing aid batteries, especially size 312 (brown) and size 13 (orange), two of the most common.
Medical/usage disclaimer: This article is general education, not medical advice. Hearing aids vary by model and hearing needs. For device-specific guidance, contact your hearing care professional.
What Makes Hearing Aid Batteries Different From "Regular" Batteries
Most disposable hearing aid batteries are Zinc-Air hearing aid batteries.
That matters because zinc-air batteries are air-activated. They don't fully "wake up" until oxygen enters through tiny holes. That's why there's a little color tab (or sticker) on the back: it seals the battery until you're ready.
A simple beginner routine:
- Don't remove the tab until you're ready to use the battery.
- After you remove the tab, it helps to wait briefly before inserting it.
Starkey, one of the major hearing aid manufacturers, explains zinc-air activation and the "wait a minute" tip in its article, "Disposable vs. rechargeable hearing aid batteries" (2019).
Hearing Aid Battery Color Codes (the Easiest Way to Avoid Buying the Wrong One)
Hearing aid batteries come in standardized sizes. The easiest way to identify them is by the color code, which is used broadly across brands.
Here is Bevigor's simplistic hearing aid battery color code takeaway for you:
- Size 10 = yellow, usually lasts for 3–5 days
- Size 312 = brown, usually lasts for 4–5 days
- Size 13 = orange, usually lasts for 5–7 days
- Size 675 = blue, usually lasts for 9–15 days
The battery life estimation is based on industrial data and Bevigor Lab's simulation of a normal daily use time. The actual life cycle may vary based on actual use, temperature, and other conditions involved.
The usage pattern model is based on Mayo Clinic's research on hearing loss and hearing aid treatment options (data augmented by Bevigor in April 2026). The behavior pattern includes daily conversion for no more than 8 hours non-consecutively, and uses medium-to-low volume.
If you're a caregiver buying batteries for someone else, the color code is your best friend.
How to Find the Right Size for Your Hearing Aid
Once you know how many types of hearing aid batteries there are, you can start finding the one that you need. Use this order of operations:
- Check the old battery (if you have it). The number is often printed on it.
- Look at the battery package you used last time.
- Check the hearing aid manual or the brand's support page.
- If you can't find any of the above, ask the hearing clinic for the exact size.
If you're ordering online for a parent, a quick photo of the old battery next to the packaging can save a lot of frustration.
Size 312 vs. Size 13 Hearing Aid Battery: What's the Difference?
Now that you know how to confirm the correct battery size, the next practical question is usually: What do those numbers actually mean for day-to-day life?
The short answer is that different sizes are designed for different hearing aid styles. That affects things like fit and how often you change batteries. Let's compare the two most common options caregivers run into: 312 (brown) and 13 (orange).
Both size 312 and size 13 are zinc-air batteries, but they're used in different hearing aid styles and tend to last different amounts of time.
Size 312 (Brown): Common, Compact, Often Used in Smaller Styles
Size 312 batteries are often used in:
- RIC/RITE styles (receiver-in-canal / receiver-in-the-ear)
- smaller behind-the-ear devices
- some in-the-ear styles
Because they're smaller than size 13, they typically hold less capacity-and may require more frequent changes depending on your use.
The common hearing aid models that use size-312 batteries are:
- Phonak Audéo Lumity (Audéo L-312)
- Oticon Real (miniRITE T)
- Starkey Genesis AI (RIC 312)
- ReSound Nexia (Micro RIE 312)
- Widex Moment Sheer (RIC 312 D)
- Signia Pure 312 AX
- Unitron Moxi Vivante (Moxi V-312)
- Philips HearLink 9040 (miniRITE T)
Size 13 (Orange): Larger, Often Used in BTE and Higher-Power Devices
Size 13 batteries are often used in:
- behind-the-ear (BTE) devices
- in-the-ear (ITE) and in-the-canal (ITC) devices that have room for a bigger battery
- some higher-power devices
Because they're larger, they often last longer in real life. The common hearing aid models that use size-13 batteries are:
- Phonak Naída Lumity
- Oticon Real
- ReSound Nexia
- Starkey Genesis AI
- Widex Moment
- Signia Motion 13 X
- Phonak Bolero Marvel
- Oticon Xceed SP
Quick Decision Rule for Caregivers
If the hearing aid takes a 312, don't "upgrade" to a 13 for longer life-the battery has to fit the door and contacts exactly.
Your job is simple: match the size the device requires, then use good habits to ensure a predictable battery life.
How to Change a Hearing Aid Battery (Step-by-Step)
If you've never done this before, you're not alone. Batteries are tiny, and the stakes feel high, especially when you're changing them for someone who can't easily troubleshoot on their own.
Step 1: Set Up a Calm, Well-Lit Workspace
- Use a table (not the bathroom sink).
- Turn on bright lighting.
- Put a light-colored towel or paper underneath. If the battery falls, it's easier to find.
If tremors are an issue, do the change sitting down with elbows supported on the table.
Step 2: Wash and Dry Hands
Clean, dry hands help you grip the battery and keep contacts clean.
Step 3: Open the Battery Door
Most hearing aids have a small battery door at the bottom.
- Open it gently.
- If you feel resistance, don't force it-double-check the hinge and direction.
Step 4: Remove the Old Battery
- Tip the hearing aid so the battery falls into your palm.
- If it sticks, use the battery tab (if present) or the edge of a clean, dry tool.
If you're helping someone who changes their own batteries, encourage a consistent routine: always remove the old one and discard it before opening the new pack.
Step 5: Prepare the New Battery
- Peel off the color tab.
- Let the battery rest on a clean, dry surface for about 1–2 minutes.
This "rest" gives the zinc-air chemistry time to activate.
Step 6: Insert the New Battery (Correct Side Up)
Batteries have a "+" side. The hearing aid battery compartment often shows the orientation.
If it doesn't close easily, don't push hard. Most of the time, the battery is flipped.
Step 7: Close the Door and Listen
Close the battery door fully.
If the hearing aid has a startup chime, you may hear it.
If there's still no sound, don't panic. Jump to the troubleshooting section below.
Pro Tip: If dexterity is a challenge, change batteries over a shallow tray. It keeps tiny batteries from bouncing away.
How Long Do Hearing Aid Batteries Last?
A fair question, because it's also the reason people get stuck in an emergency.
Audibel's guide, "How to Maximize the Lifespan of Hearing Aid Batteries" (2024), lists average lifespans around:
- Size 312 (brown): ~4–5 days
- Size 13 (orange): ~5–7 days
In the real world, some people get longer and some shorter. Battery life depends on factors like:
- Wear time: 16 hours/day drains faster than 6 hours/day.
- Power needs: more amplification uses more energy.
- Noise processing: busy environments can draw more power.
- Streaming and wireless features: Bluetooth streaming often shortens battery life.
- Moisture and humidity can affect both the hearing aid and battery performance.
If you're helping an older adult, the goal is not perfection-it's predictability.
A Simple Replacement Schedule (For Less Stress)
Instead of waiting for a battery to die at the worst moment, consider a predictable plan:
- If the person uses size 312 and wears hearing aids all day, many families start with a twice-weekly check (for example, Wednesday and Sunday).
- If the person uses size 13, many families start with a weekly check.
Adjust based on the person's real experience.
The point is not to "waste" batteries-it's to avoid the cost of missed conversations, skipped appointments, and unnecessary frustration.
Make Batteries Last Longer (Safe, Widely Recommended Habits)
You don't need hacks. You need a few habits that reduce wasted battery life and protect the device.
1) Don't peel the tab early
Zinc-air batteries start reacting with oxygen after the tab is removed. So peeling the tab "ahead of time" can shorten the battery life.
2) Keep batteries dry (especially overnight)
Moisture is a quiet battery-killer and a hearing-aid-killer.
Audibel advises keeping batteries dry, opening the battery compartment when the hearing aid is not in use, and storing batteries in a dry place at room temperature (not in the refrigerator/freezer) in its 2024 battery-life guide linked above.
If you're caring for someone who sweats a lot, lives in a humid climate, or gets caught in rain, a hearing aid dehumidifier can make daily life smoother.
3) Don't mix "old" and "new" batteries in the same pack
If you're helping someone who keeps loose batteries in a drawer or case, it's easy to mix them up.
A simple rule:
- Keep unused batteries in the original dial pack.
- Discard used batteries immediately.
4) Limit battery-draining features when possible
Streaming, hands-free calls, and constant Bluetooth connection can be incredibly helpful-but they often use more power.
If battery life suddenly drops, ask:
- "Did we start streaming TV audio?"
- "Are we taking more phone calls through the hearing aids?"
Sometimes the "fix" is just knowing what changed.
Storage, Travel, and Disposal (Especially Important for Families)
Button Battery Safety: What Every Caregiver Should Know
Poison Control recommends keeping spare batteries out of reach, securing battery compartments, and wrapping used batteries before discarding them in its prevention guide, "Safety tips for button batteries".
If you suspect someone swallowed a battery, treat it as an emergency. The National Capital Poison Center provides step-by-step triage guidance in its "Button Battery Ingestion Triage and Treatment Guideline".
⚠️ Warning: If a child, pet, or vulnerable adult may have swallowed a button battery, treat it as an emergency. Call Poison Control at 1-800-222-1222 or the National Battery Ingestion Hotline at 1-800-498-8666 and go to the ER right away.
Safe Storage at Home
A caregiver-friendly checklist:
- Store spare batteries up high (or locked), not in purses, bowls, or countertop containers.
- Check that the battery door closes firmly.
- If a battery door feels loose, ask the clinic about repair or a safer locking door.
- Wrap used batteries before discarding so they can't be found and swallowed.
A Simple Caregiver Travel Kit
A travel kit prevents a lot of "we can't hear" emergencies:
- 2–4 spare batteries (in original packaging)
- a small labeled case so batteries don't float loose in a bag
- a reminder note with the battery size (312 brown or 13 orange)
- (optional) a small cleaning brush, if the hearing aid came with one
Rechargeable vs Disposable: Do You Need to Think About This Now?
Many modern hearing aids are rechargeable. If you're reading this and thinking, "Wait, do we even use disposable batteries?"-here's the difference:
- Disposable zinc-air batteries: You replace the battery every few days to a week (depending on size and usage).
- Rechargeable hearing aids: You charge them like a phone, usually overnight.
Rechargeable models can be convenient, but they're not automatically "better" for every person.
For older adults (and caregivers), the best system is the one that's easiest to keep consistent:
- If charging nightly is easy and reliable, rechargeable can be simple.
- If nightly charging is often forgotten, or if someone needs easy backups for travel-disposable batteries can be less risky.
If you're unsure which you have, look for a battery door. If there's no removable door and the device sits in a charger, it's probably rechargeable.
Troubleshooting: Common Battery-Related Problems (and What to Try First)
When a hearing aid "stops working," the battery is often the first place to check-but it's not always the only issue.
1) You changed the battery, but there's still no sound
Try this sequence:
- Make sure the tab was removed.
- Confirm the battery is inserted the right way.
- Open and close the battery door fully.
- Try a second new battery.
- If the hearing aid has separate left/right units, swap batteries to rule out a single bad battery.
If there's still no sound, it may be wax blockage, moisture, or a device issue, not the battery. That's a good time to contact your hearing care provider.
2) Batteries are dying much faster than usual
Common reasons include:
- more streaming (calls/TV)
- a change in listening environment (more background noise)
- moisture exposure
- storing batteries somewhere humid
- removing tabs too early
If the change is sudden and persistent, it's worth having the hearing aid checked.
3) The hearing aid cuts in and out
This can be battery-related (poor contact), but can also be:
- a dirty contact
- moisture
- a loose fit or receiver issue
If it happens repeatedly, even with fresh batteries, ask the clinic to inspect the device.
4) The hearing aid whistles or squeals
A quick note: whistling is often about fit, wax, or feedback control, not the battery.
If changing the battery doesn't help, ask the clinic to check the fit and clean the device.
BEVIGOR Size 312 and Size 13 Hearing Aid Batteries (A Simple Option for Families)
Once you know your size (brown 312 or orange 13), choosing a battery comes down to a few practical priorities: reliability, leak protection, easy handling, and fresh storage.
For families who want a straightforward option, BEVIGOR offers hearing aid batteries in size 312 and size 13.
Here's how the features you shared map to real beginner concerns:
- Reliable performance: Mercury-free zinc bonding is designed to support consistent discharge, which can help you get stable daily listening.
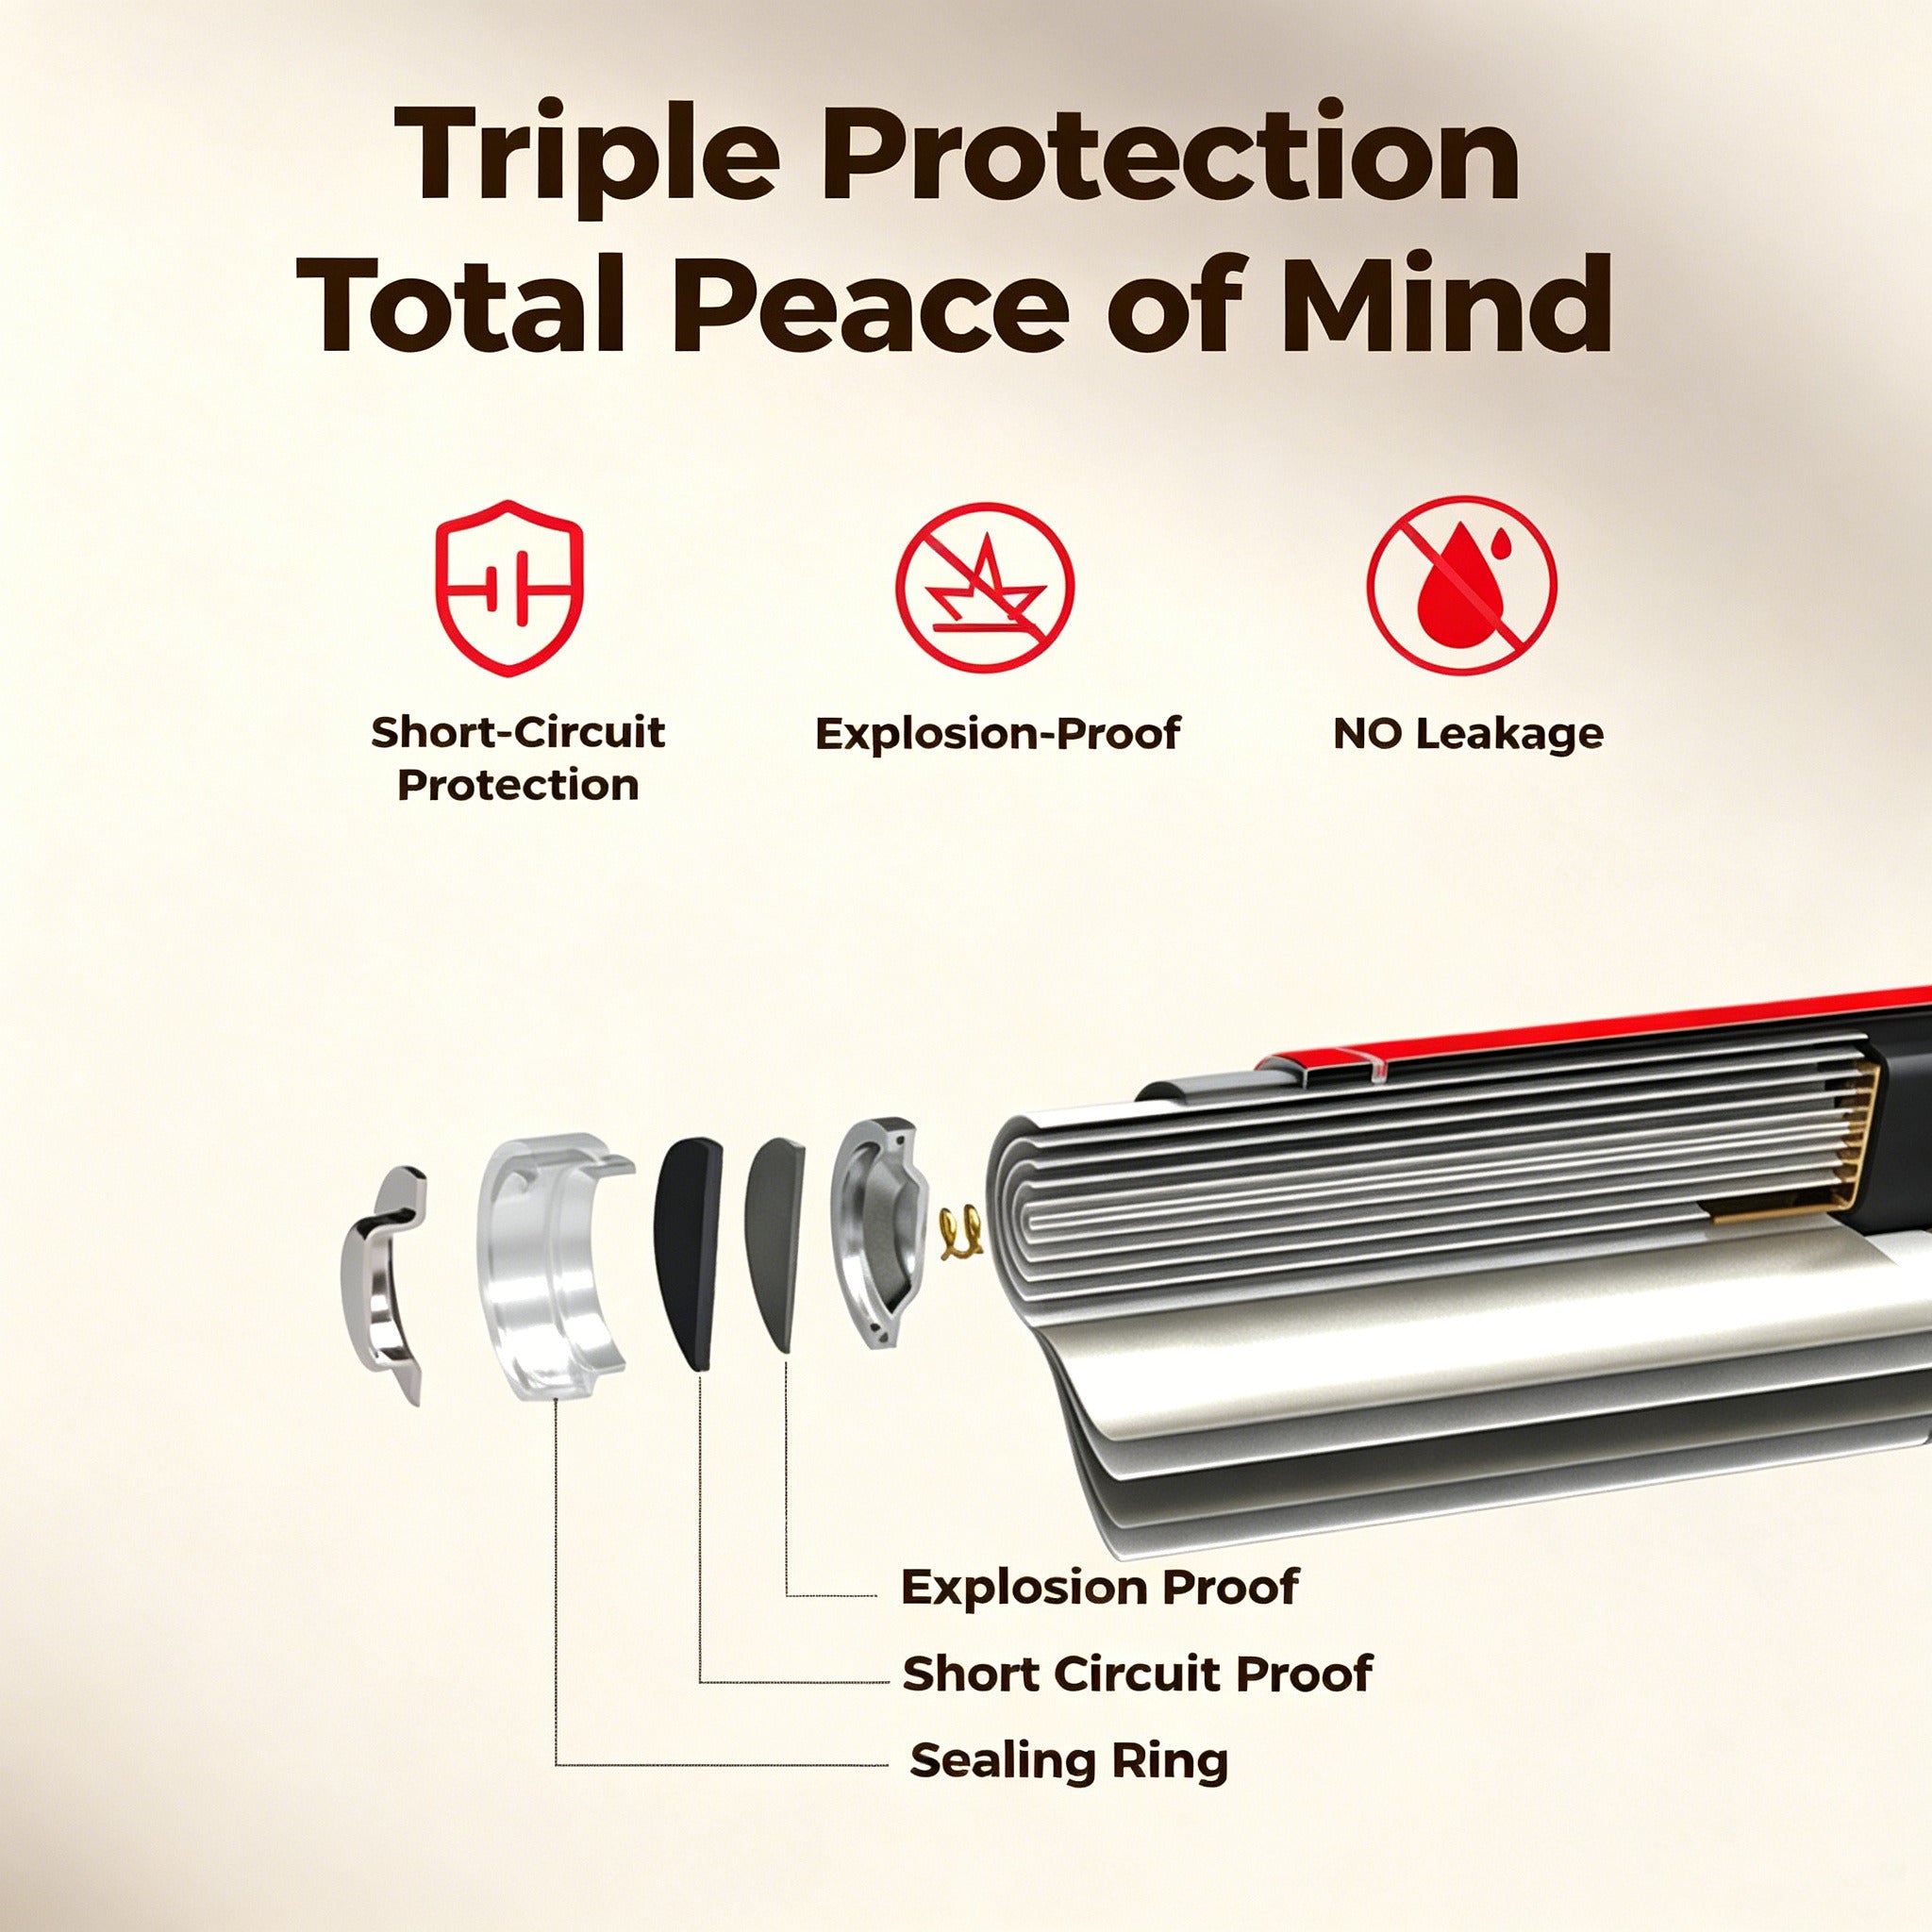
- Leak-proof design: Advanced sealing is intended to help prevent leakage and protect the device.
- User-friendly packaging: A dial pack can make it easier to store and access individual batteries, especially for caregivers helping someone with vision or dexterity challenges.
- Long shelf life: With proper storage, batteries stay fresh for up to 2 years.
- Wide compatibility: Suitable for hearing aids and other compact electronics like remote controls, clocks, and toys.
If you're shopping specifically for hearing aid battery size 312, use the brown color code as the quick check, and match the size printed on the old battery or device manual.
Next Steps
If you want to make hearing aid batteries less stressful, pick one simple routine:
- Confirm your battery size (312 vs 13).
- Keep a spare pack in a safe place.
- Choose a consistent change day, so you're not caught off guard.
When you're ready to buy, you can learn more about BEVIGOR here: BEVIGOR hearing aid batteries


Aktie:
2026 Lithium Battery Checked Bag Rules and TSA Guide
How to Test AA Lithium Batteries: A Professional Guide